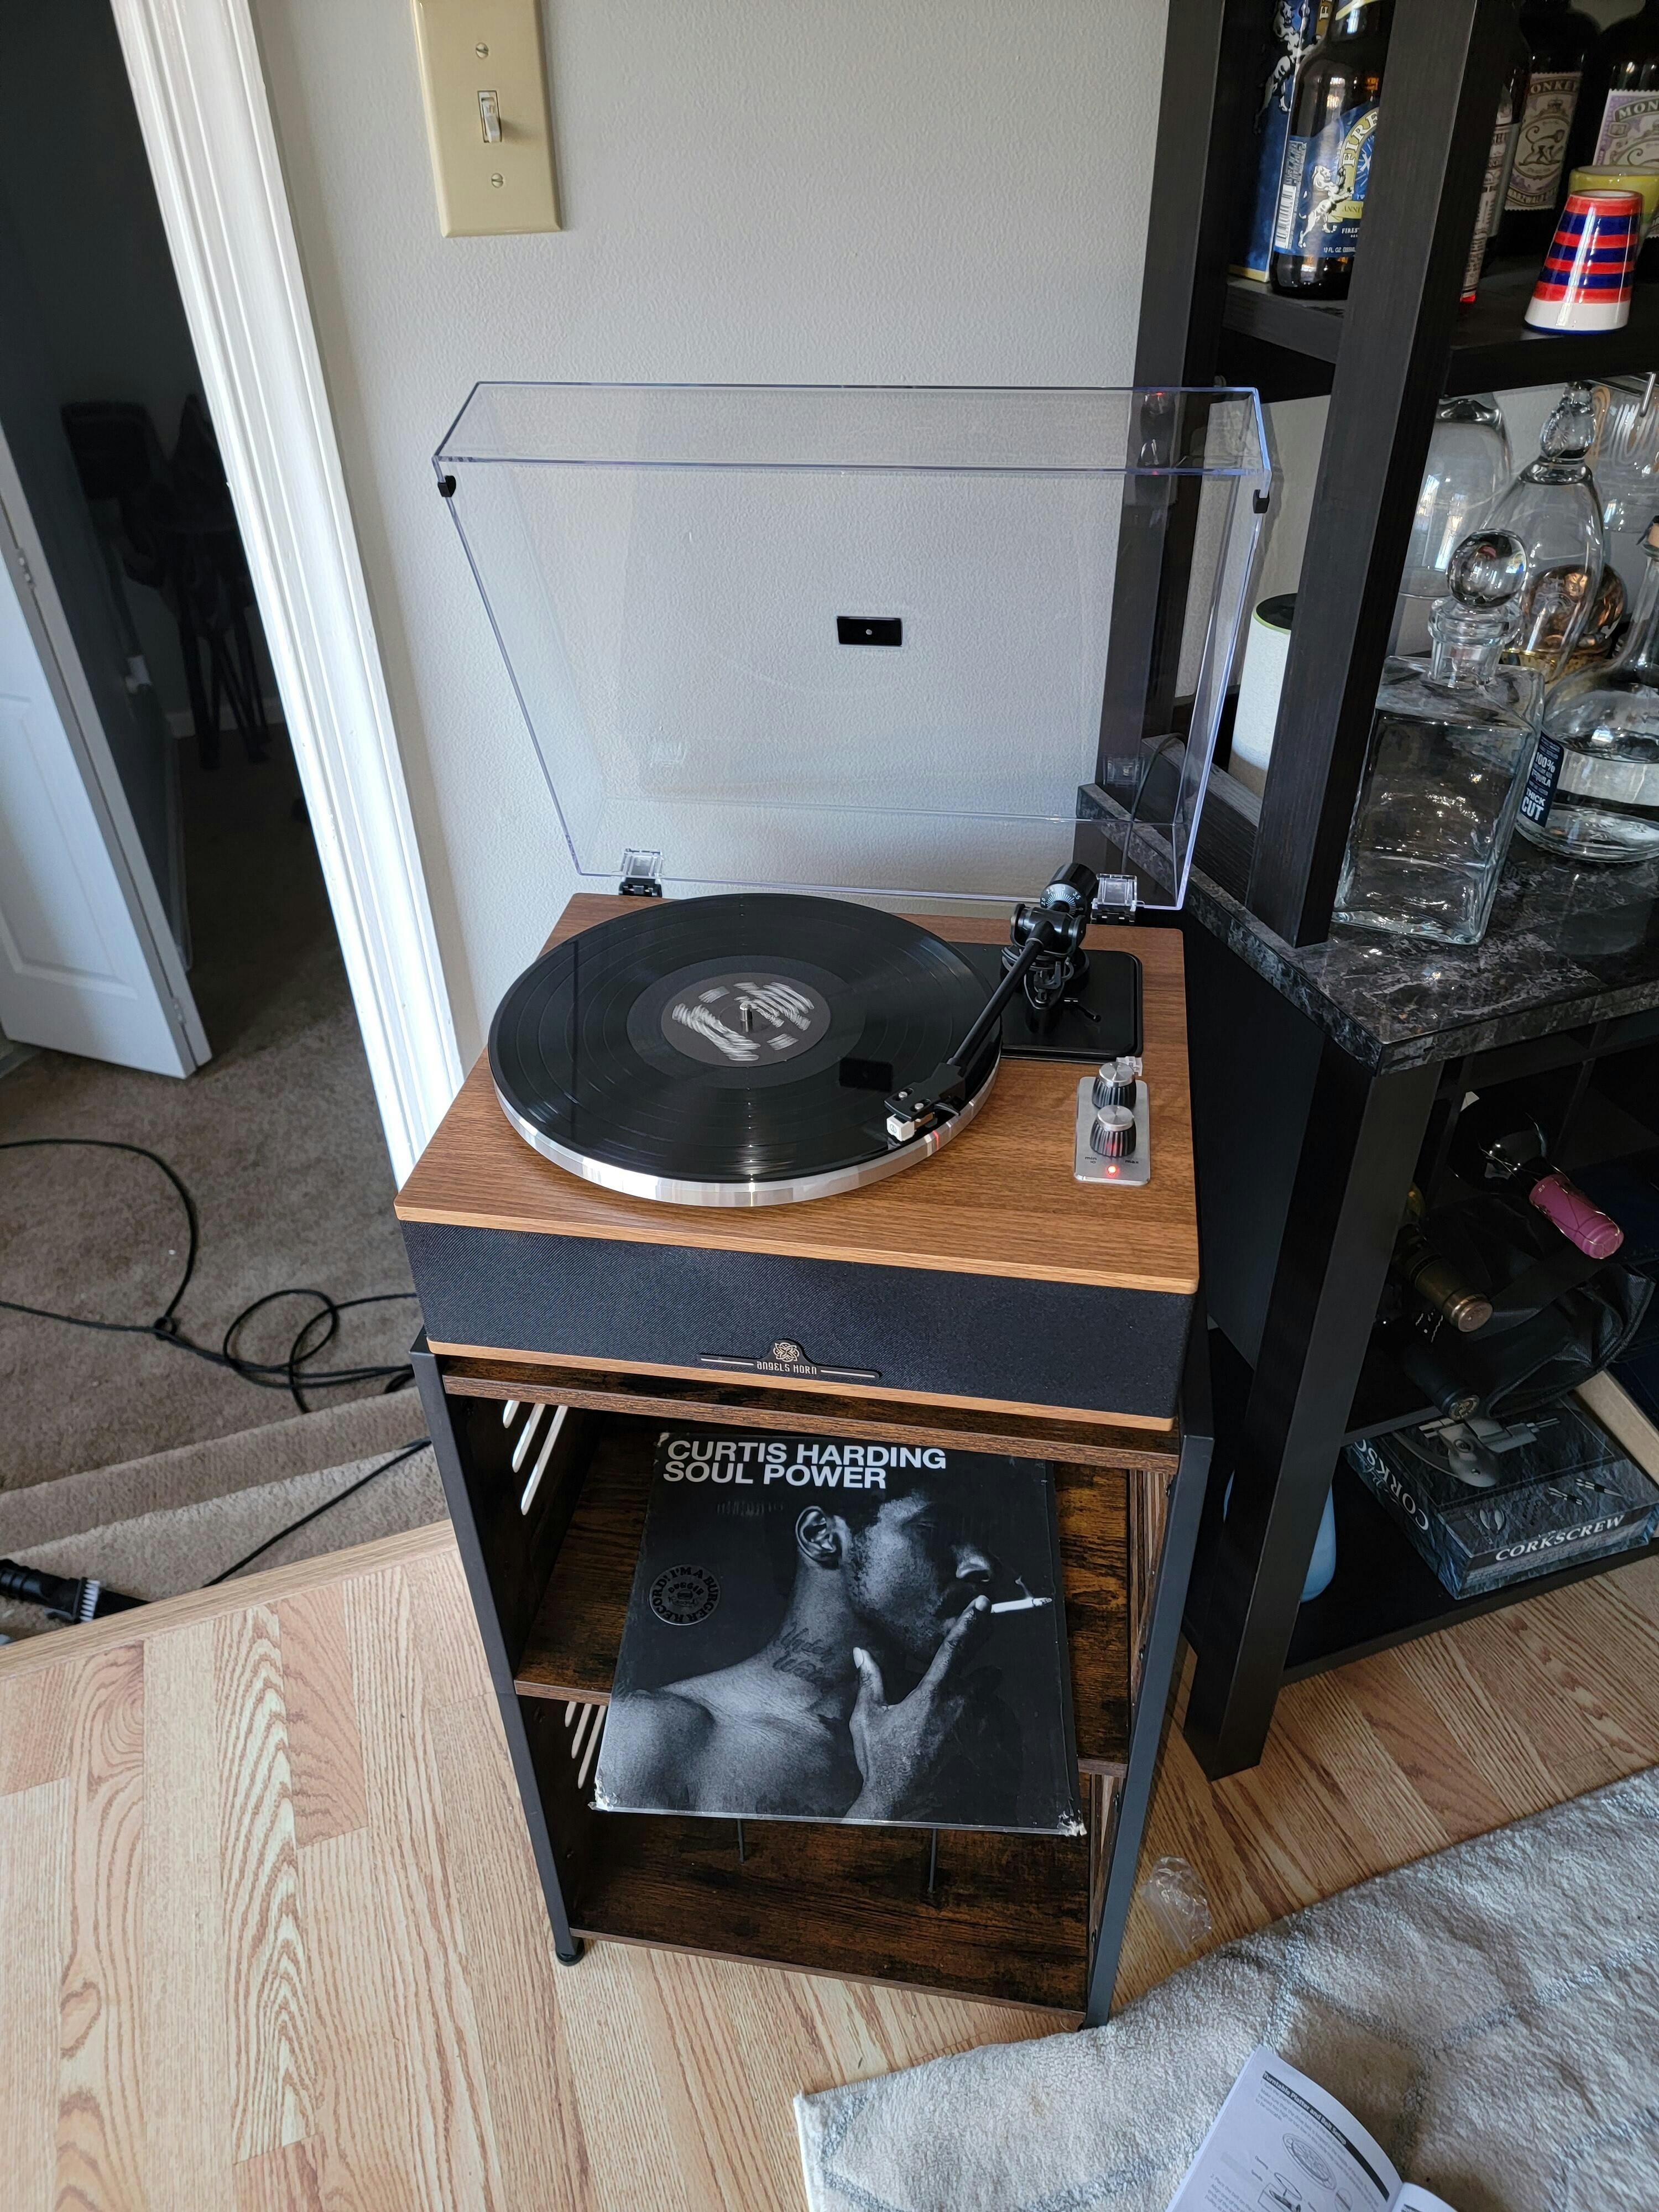
How to Setup Your Turntable? | Angels Horn®
How to set up your turntable?
-Unpack all parts and remove protective material.
-Do not connect the unit to the mains before checking the mains voltage and before all other connections have been made.
-Those instructions are related only to products using power cable or AC power adaptor.
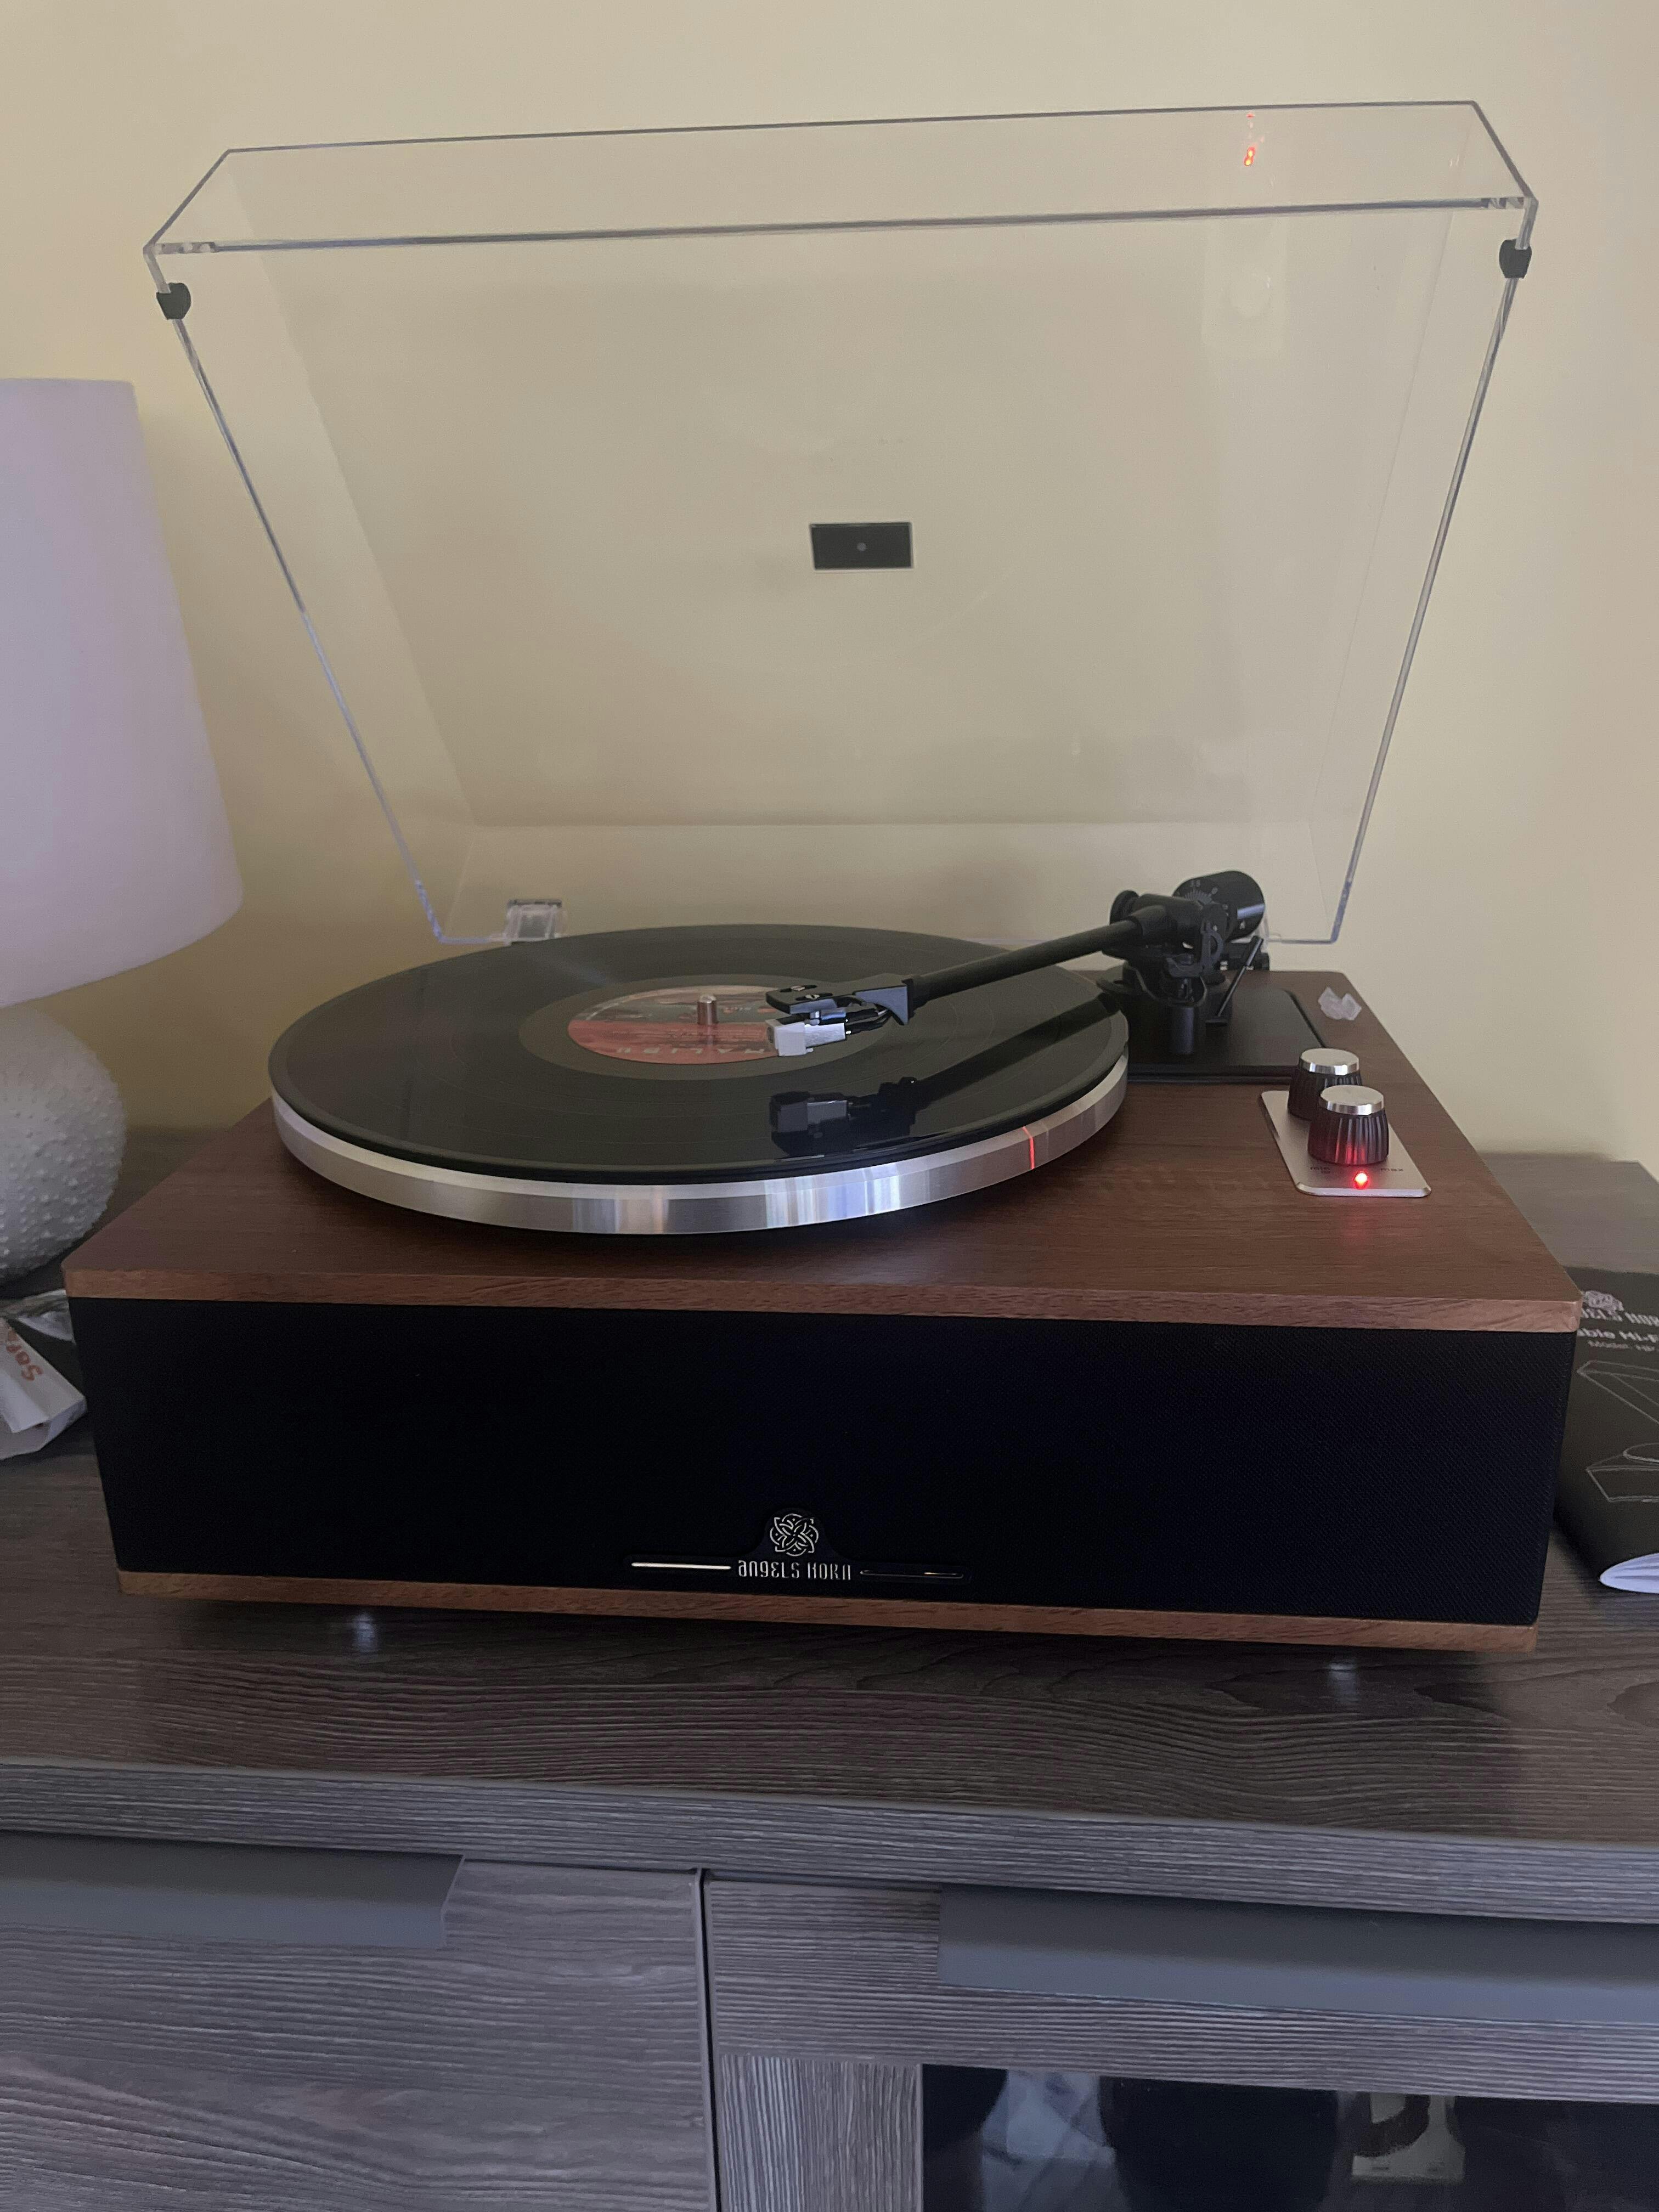
1-Installing the Lid:
Install the Lid carefully over the hinge prongs.

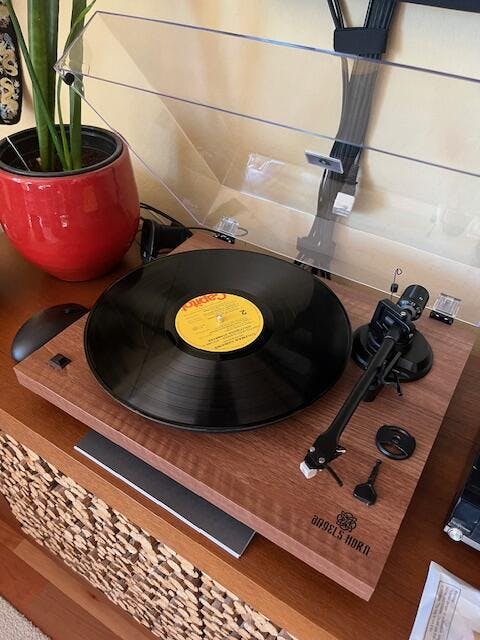
2-Turntable platter and belt setup:
1) Insert the sub-platter into the turntable spindle located in the middle of the turntable.
2) Loop the drive belt around the sub-platter and motor pulley.
3) Carefully place the main platter onto the sub-platter (Figure 1).
4) Place the slip mat on top of the platter (Figure 2)

3-Cartridge tracking force adjustment:
The counterweight supplied is suitable for cartridges weighing between 3.0-6.0g.
- Gently push and turn the Counterweight onto the rear of the tonearm (with the scale facing toward the front of the turntable).
- Remove the cartridge protection cap.
- Lower the tonearm lift and position the cartridge in the space between tonearm rest and platter.

Carefully rotate the Counterweight until the tonearm balances out. The tonearm should return to the balanced position if it is moved up or down.
This adjustment must be done carefully.

Once the tonearm is correctly balanced return it to its’ rest. Hold the Counterweight without moving it, and gently rotate the Downforce Scale ring until the zero is in line with a black line on the rear of the tonearm. Check whether the arm still balances out.

Rotate the counterweight counter-clockwise (seen from the front) to adjust the downforce according to the cartridge manufacturer’s recommendations. One mark on the scale represents 0.05g of downforce.
Note: The recommended downforce for the factory fitted cartridge is 3.5±0.5g.
4-Anti-skating force adjustment:
The anti-skating force must be adjusted corresponding to the tracking force as follows:

1. Slip the loop of the anti-skating weight's thread over the 3rd groove of the stub to set the correct anti-skating force for the factory-fitted cartridge.

2. Feed the thread through the loop of the wire support.

5-Connection to the Amplifier:
This turntable uses a moving magnetic cartridge. Set the PHONO & Line Out Switch on PHONO mode.
Connect the phono out cables to the phono input on your amplifier of the pre-amplifier (phono stage). Line inputs such as CD, Tuner, Tape, or Video are not suitable for phono inputs. Make sure the amplification of the selected input matches the type of cartridge being used.
The factory-installed cartridge is 47k ohms/MM-input.

NOTE: If your amplifier does not have an input suitable for phono cartridges, you will need to purchase a separate phono amplifier for moving magnetic cartridges. This separate phono amplifier will then connect between your turntable and your amplifier.
6-Stereo System Connection:
Set the PHONO & Line Out Switch on LINE mode. The RCA PHONO & Line Out Jacks output analog line-level signals and could be connected directly with a par of active/powered speakers of the appropriate input of your stereo system.
The Red plug connects with the Right channel and the White plug connects with the Left channel.
NOTE: The RCA Jacks are not designed to be connected directly to the passive/unpowered speakers on LINE mode. If connected to the passive speakers, there is no sound
7-Main Power Connection:
The power adaptor is in the foam packing material. Unpack the power adaptor and plug the small end into the DC power jack located at the backside of the turntable.
Plug the power adaptor into your power outlet.
Angels Horn Store:

Bring music to life.
AngelsHorn Mission


Leave a comment